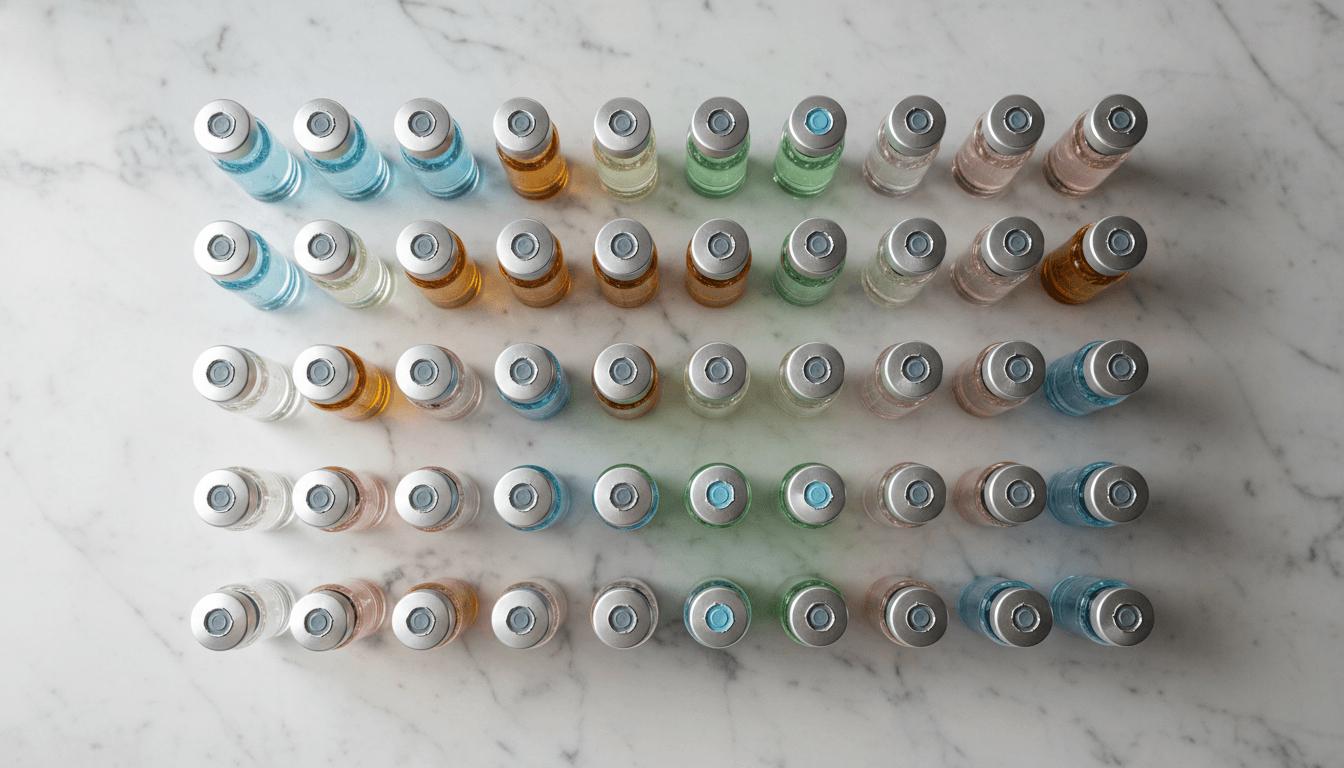
A vial adapter swaps the draw-up needle for a sealed port. How to seat one without coring, when it helps, and when it is the wrong tool.
Key points
- 01What an adapter actually is. A vial adapter is a small plastic collar with an internal spike and a syringe hub on top. It snaps over the neck of a vial, punctures the stopper once, and turns the vial into a port you can attach a syringe to directly. It replaces the draw-up needle, not the injection needle.
- 02The problem it solves is repeated punctures. Every time a needle passes through a rubber stopper it can shave a fragment of rubber into the solution, an event known as coring, and each puncture is another chance to contaminate. One spike, seated once, replaces a dozen needle passes across a multi-dose vial's life.
- 03The second problem it solves is your hands. Drawing up with a needle means a sharp is exposed on the work surface for as long as the process takes, twice per dose. An adapter removes the sharp from that part of the workflow entirely, which matters most for anyone with tremor, low vision or a busy household.
- 04Adapters are sized, and the size is not cosmetic. Adapters come in diameters matched to vial necks, commonly around 13 mm and 20 mm. A slightly loose adapter will not grip, will not seal reliably and can lift off in your hand mid-draw. Match the size to the vial before you open anything.
- 05Seat it straight down or not at all. Pressing at an angle is the single most common error, and it is exactly what causes coring, the outcome the adapter was supposed to prevent. Vial flat on the surface, adapter square above it, one firm push. If it goes on crooked, do not remove and refit it, because a second puncture defeats the point.
- 06It is a draw-up device, never an injection route. You do not inject through an adapter. The dose is drawn into the syringe, the syringe is detached, and an injection needle is attached afterwards. Attaching a needle to a vial that is still on the adapter is a workflow that ends with a syringe stuck to a vial mid-injection.
- 07Check the fitting before you rely on it. Adapter hubs and syringe tips are not universally interchangeable. A Luer lock connection twists and holds, a slip fit is friction only and can separate under pressure with a viscous solution. Our post on Luer lock versus slip tip covers which to use when.
- 08It does not extend a vial's in-use life. An adapter reduces punctures, but the beyond-use period for a multi-dose vial is set by the product and by the preservative in it, not by how tidy your technique is. Our post on multi-dose vial storage after first use covers what actually determines that date.
- 09Some adapters include a vent and a filter, most do not. Vented adapters exist to equalise pressure without injecting air, and some include a particulate filter. If yours is unvented, and most simple ones are, you still need the air-injection step for a multi-dose vial. Read the packaging rather than assuming a feature you have not paid for.
- 10When it is the wrong tool. A manufactured single-dose vial punctured once with the specified syringe and needle gains nothing from an adapter, and using one against the instructions for use adds a device the manufacturer never validated with that product. Follow the leaflet in the carton. Our guide to injecting from a single-dose vial covers that route.
- 11One adapter, one vial, no exceptions. An adapter is not moved between vials, not rinsed and not reused. Doing so connects the contents of two vials through a shared path, which is the exact mechanism that infection-control guidance on one needle, one syringe, only one time exists to prevent.
- 12Disposal follows the sharps rule, not the plastic rule. The internal spike is a puncture hazard even though it is not a hypodermic needle, and a used adapter has been in contact with medication. Treat it as contaminated waste and put it in the sharps container rather than the recycling, unless your local rules say otherwise.
Pre-injection checklist
- ✓Check that the adapter is the right diameter for your vial neck. Adapters are sized, commonly around 13 mm and 20 mm, and a loose fit is a contamination route rather than a minor annoyance.
- ✓Check whether the instructions for use for your medication call for an adapter at all. Manufactured single-dose vials often specify a syringe and needle instead, and following the leaflet beats following a habit.
- ✓Confirm the syringe fitting matches the adapter hub. Our post on Luer lock versus slip tip explains why a slip fit can pop off under pressure with a viscous solution.
- ✓Never reuse an adapter across vials, and never leave one seated on a vial as long-term storage unless the product instructions say that is intended.
- ✓Educational information only, not medical advice. Nothing here tells you what to inject or how much.
Step-by-step guide
- 1
Wash your hands and clear the surface
Wash with soap and water for at least 20 seconds and dry on a clean towel. Clear a flat area, open the sharps container, and lay out the vial, the packaged adapter, the syringe and two alcohol pads before you unwrap anything sterile.
Pro tipAlways check the fluid is clear and colourless before injection. - 2
Remove the flip cap and clean the stopper
Flip off the plastic cap and wipe the exposed rubber stopper with a fresh alcohol pad in one pass. Let it air-dry rather than fanning or blowing on it. This is the same step you would do before a needle, and skipping it is the main way an adapter contaminates a vial.
Pro tipAlways check the fluid is clear and colourless before injection. - 3
Open the adapter without touching the spike
Peel the package open and leave the adapter sitting in the tray. The internal spike and the hub must not touch skin or any surface. Most adapters are designed so you can press the vial into the adapter while it is still in its tray, which is the cleanest way to handle it.
Pro tipAlways check the fluid is clear and colourless before injection. - 4
Press the adapter straight down onto the vial
Hold the vial upright on the flat surface and press the adapter down onto the stopper in one firm, straight movement until it clicks or snaps over the neck. Straight down is the whole technique. Pressing at an angle is what shaves a fragment of rubber into the vial.
Pro tipAlways check the fluid is clear and colourless before injection. - 5
Confirm it is seated
The adapter should sit flush and square, gripping the neck so the vial can be lifted by the adapter without wobbling. If it sits crooked, or it will not lock, do not force it and do not remove and refit it. Discard the adapter and the vial per your product instructions and start again.
Pro tipAlways check the fluid is clear and colourless before injection. - 6
Attach the syringe to the adapter hub
Remove the small cap from the adapter hub if it has one, and screw or push the syringe onto it until it is secure. A Luer lock fitting is turned until it stops. Do not touch the hub opening with your fingers at any point.
Pro tipAlways check the fluid is clear and colourless before injection. - 7
Inject air first if your procedure calls for it
For a multi-dose vial, pushing in a volume of air matching the volume you intend to withdraw prevents a vacuum building in the vial and makes the liquid come out cleanly. Follow the instructions for your specific product rather than a general rule.
Pro tipAlways check the fluid is clear and colourless before injection. - 8
Invert and withdraw the dose
Turn the vial upside down with the syringe attached, keep the port below the liquid line, and pull the plunger back steadily to the mark you need. Read the volume at eye level. Push the large bubbles back into the vial and draw again to the mark if the level dropped.
Pro tipAlways check the fluid is clear and colourless before injection. - 9
Detach the syringe and cap the port
Unscrew the syringe from the adapter. If the vial is a multi-dose vial that continues in use, put the hub cap back on and store it per the product instructions. Attach an injection needle to the syringe only at this point, and never inject through an adapter.
Pro tipAlways check the fluid is clear and colourless before injection. - 10
Dispose of the adapter with the vial
When the vial is finished, the adapter goes with it. If the adapter has been in contact with a needle-bearing assembly or your local rules class it as contaminated medical waste, it goes into the sharps container rather than the household bin.
Pro tipAlways check the fluid is clear and colourless before injection.
Common mistakes
- You can see a fragment of rubber or any particle floating in the solution. Do not use the vial, and contact your pharmacy.
- The adapter will not seat, or lifts off during the draw. Stop, discard per your product instructions and start again rather than improvising a seal.
- The solution is cloudy, discoloured or has changed appearance since the last dose. Stop and ask your pharmacy.
- Injection-site redness that spreads, warmth, pus or fever after any dose. See our guide to injection-site infection red flags and contact your clinician.
Frequently asked questions
What is a vial adapter for?+
It snaps onto a vial, punctures the stopper once and gives you a port to attach a syringe to directly. It removes repeated needle punctures and takes the sharp out of the draw-up step. Educational information only, not medical advice.
Do I still need a needle?+
Yes, for the injection itself. The adapter replaces the draw-up needle only. Draw the dose, detach the syringe from the adapter, then attach an injection needle.
Can I inject through the adapter?+
No. It is a draw-up device and nothing about it is designed to contact skin. Always detach the syringe and fit an injection needle before injecting.
Which size adapter do I need?+
One matched to your vial neck. Common sizes are around 13 mm and 20 mm. Check the fit against the vial before opening the package, because a loose adapter will not grip or seal.
Can I reuse an adapter on the next vial?+
No. One adapter, one vial. Moving an adapter between vials creates a shared path between their contents, which is exactly what one needle, one syringe, only one time guidance is designed to prevent.
Does an adapter make a vial last longer?+
No. The in-use period of a multi-dose vial is set by the product and its preservative, not by how few times the stopper is punctured. See our post on multi-dose vial storage after first use.
How do I throw a used adapter away?+
Treat it as contaminated waste with a puncture hazard, which usually means the sharps container rather than the recycling. Local rules vary, so check your area's guidance.