A step-numbered procedure for self-administered subcutaneous injection of prescribed medications, citing published nursing-education literature. For educational and patient-education purposes only. Not medical advice.
Key points
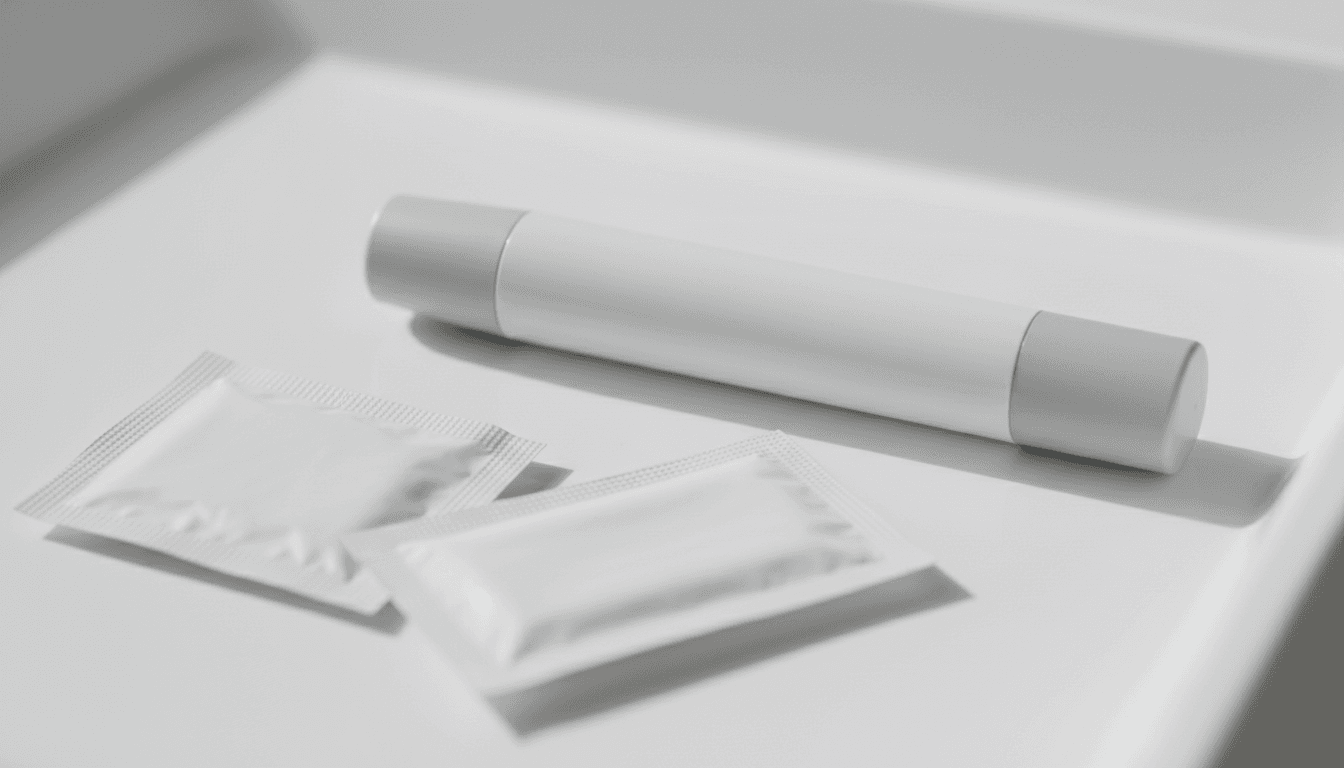
- 01Hand hygiene and supply preparation. CDC hand-hygiene guidance is applied before any parenteral procedure. Supplies, single-use syringe, alcohol prep pad, sharps container, and the prescribed medication, are laid out before the vial or pen is opened.
- 02Injection-site selection within the three documented zones. The abdomen (avoiding a two-inch radius around the umbilicus), the anterolateral thigh, and the posterior upper arm are the three subcutaneous sites described in nursing-education literature (Perry & Potter; Frid et al. 2016).
- 03Skin antisepsis. A 70% isopropyl alcohol prep pad is applied in a single outward spiral. The site is allowed to air-dry before needle insertion, per CDC injection-safety guidance.
- 04Pinch versus stretch. The skin-pinch technique raises the subcutaneous layer away from the underlying muscle. Frid et al. 2016 (Mayo Clinic Proceedings) describe this as the default approach for short (5/16") insulin needles in lean individuals. The same paper describes stretching for sites with abundant subcutaneous tissue and shorter needles.
- 05Needle angle. A 90-degree angle is described in nursing-education literature for 5/16" (8 mm) needles. A 45-degree angle is described in the same literature for longer needles in individuals with reduced subcutaneous tissue.
- 06Plunger depression and needle dwell. The plunger is depressed at a steady rate. A five-to-ten-second dwell after plunger completion is described in pen-manufacturer package inserts (Novo Nordisk; Eli Lilly) to reduce incomplete dose delivery.
- 07Needle withdrawal and sharps disposal. The needle is withdrawn at the insertion angle and placed directly into an FDA-cleared sharps container. Recapping is not performed, per OSHA bloodborne-pathogen guidance.
Pre-injection checklist
- ✓Wash hands with soap and water for at least 20 seconds (CDC injection-safety guidance).
- ✓Confirm the medication name, strength, expiration date, and prescribed dose against the original prescription.
- ✓Inspect the medication: clear and colourless for most peptide solutions. Cloudy, discoloured, or particulate-containing solutions are not used; the prescriber is contacted.
- ✓Confirm the medication has reached the temperature specified in the package insert. For Ozempic, Wegovy, and Mounjaro the cartridge may be at refrigerated or room temperature; cold injections are reported as more uncomfortable but are not contraindicated.
- ✓Lay supplies on a clean flat surface within reach. Do not open the syringe / pen needle until immediately before use.
- ✓If using a pre-filled pen, dial the dose specified by the prescriber. Confirm the dose window reads the intended dose before each injection.
- ✓Position the sharps container within reach of the dominant hand.
Step-by-step guide
- 1
Prepare a clean work surface and wash hands
Wash hands with soap and water for at least 20 seconds. Lay supplies on a clean flat surface: medication, syringe or pen needle in original packaging, alcohol prep pad, sharps container within reach.
Pro tipAlways check the fluid is clear and colourless before injection. - 2
Inspect the medication
Confirm the medication name, dose, and expiration date. Inspect the solution: clear and colourless for most peptide products. If cloudy, discoloured, or particulate-containing, do not use and contact the prescriber.
Pro tipAlways check the fluid is clear and colourless before injection. - 3
Select an injection site
Choose one of the three documented subcutaneous zones: the abdomen (outside a 2-inch radius around the umbilicus), the anterolateral thigh, or the posterior upper arm. Rotate sites systematically, use a different site than the previous injection.
Pro tipAlways check the fluid is clear and colourless before injection. - 4
Clean the site with the alcohol prep pad
Apply the prep pad in a single outward spiral, covering a roughly 2-inch circle. Allow the alcohol to dry fully before needle insertion (CDC injection-safety guidance). Do not blow on or fan the site.
Pro tipAlways check the fluid is clear and colourless before injection. - 5
Pinch the skin and insert the needle
Pinch a fold of skin and subcutaneous tissue between thumb and index finger, lifting it away from underlying muscle. Insert the needle at a 90-degree angle for short (4–6 mm) needles in most adults, or at 45 degrees for longer needles in lean individuals. The needle is fully seated.
Pro tipAlways check the fluid is clear and colourless before injection. - 6
Inject the medication
Depress the plunger or pen button at a steady, even rate. The injection should feel like firm pressure, not sharp pain. If sharp pain is felt, stop and remove the needle without injecting.
Pro tipAlways check the fluid is clear and colourless before injection. - 7
Hold for 5 to 10 seconds
After the dose dial on a pen returns to zero, or when the syringe plunger is fully depressed, keep the needle in place for 5 to 10 seconds (per Ozempic, Wegovy, Mounjaro, Zepbound prescribing information). This reduces incomplete dose delivery.
Pro tipAlways check the fluid is clear and colourless before injection. - 8
Withdraw and dispose
Withdraw the needle at the insertion angle. Release the skin pinch. Place the used needle directly into the sharps container without recapping (OSHA 29 CFR 1910.1030). Apply gentle pressure with clean gauze if a bead of blood or fluid appears; do not rub.
Pro tipAlways check the fluid is clear and colourless before injection.
After the injection
- Do not rub the injection site. Gentle pressure with clean gauze for ten to twenty seconds is acceptable if a small bead of fluid or blood appears (Frid et al. 2016).
- Replace the outer needle cover only if the package insert specifies; otherwise dispose of the needle directly into the sharps container without recapping (OSHA bloodborne-pathogen guidance).
- Record the injection: date, time, dose, site (left vs right, abdomen vs thigh vs upper arm). Site logs are described in Forum for Injection Technique recommendations as the primary tool for systematic rotation.
- Wash hands again. Return medication to the storage condition described in the package insert (refrigerated for unopened pens; ambient for in-use pens within the manufacturer-specified window).
- Mild soreness, a small bruise, or a 1 cm patch of pinkness at the injection site that resolves within 24 hours is consistent with normal injection response and does not warrant prescriber contact (Frid et al. 2016).
Common mistakes
- Bleeding that does not stop after five minutes of gentle pressure, contact prescriber.
- Expanding redness, warmth, or hardness extending beyond a 2 cm radius from the injection site after 24 hours, contact prescriber the same day.
- Fever above 38 degrees C or 100.4 degrees F within 48 hours of injection, contact prescriber.
- Purulent (yellow / green) discharge or a fluctuant lump at the site, same-day prescriber contact; possible soft-tissue infection per IDSA guidelines.
- Unexpected deep, sharp pain at injection that radiates beyond the site, discontinue use and contact prescriber; possible inadvertent intramuscular deposition.
- Hives, swelling of the lips / tongue / throat, difficulty breathing, or fainting within minutes of injection, call emergency services. These are documented anaphylaxis warning signs in the GLP-1 prescribing information.
- Injection-site lipohypertrophy (a soft, painless lump at a frequently used site), discuss site-rotation protocol with prescriber; absorption from lipohypertrophic tissue is unpredictable per Frid et al. 2016.
Frequently asked questions
What angle is described in the published technique literature for subcutaneous injection?+
Frid et al. 2016 (Mayo Clinic Proceedings) describe a 90-degree insertion angle for 4–6 mm needles in most adults and a 45-degree angle for longer needles in individuals with thinner subcutaneous tissue. Specific pen-manufacturer package inserts (for example, the Ozempic and Mounjaro prescribing information) reference the 90-degree convention for their provided pen needles.
Is pinching the skin required?+
Nursing-education literature (Perry & Potter; Frid et al.) describes skin-pinch as the default for shorter needles in lean individuals, and stretching as acceptable for sites with abundant subcutaneous tissue. The package inserts for major GLP-1 pens do not uniformly require pinching.
Which sites are described for subcutaneous administration?+
The abdomen (outside a two-inch radius around the umbilicus), the anterolateral thigh, and the posterior upper arm are the three sites described in nursing-education procedure literature and in GLP-1 pen package inserts (Ozempic, Wegovy, Mounjaro, Zepbound).
What are the documented red-flag signs following injection?+
Published nursing-reference material identifies the following as warranting prescriber contact: bleeding that does not stop after five minutes of gentle pressure, expanding redness or warmth, fever, purulent discharge, or unexpected deep pain suggestive of intramuscular deposition. These criteria are consistent across CDC injection-safety guidance and the IDSA guidelines on soft-tissue infection.
Is site rotation described in the literature?+
Yes. The three-zone rotation protocol is described in the Forum for Injection Technique (FIT) recommendations and in Frid et al. 2016, specifically for prevention of lipohypertrophy in patients receiving repeated subcutaneous injections.
How does the procedure differ between pen devices and vial-and-syringe administration?+
The needle-insertion steps are identical. Vial-and-syringe administration adds a reconstitution or dose-drawing step that is not required for pre-filled pens. Package inserts for pre-filled pens specify a dose-dial priming step and a five-to-ten-second dwell after plunger completion.
Is the alcohol swab required by the published guidance?+
CDC injection-safety guidance describes skin antisepsis with 70% isopropyl alcohol prior to parenteral administration. The swab is to be allowed to dry before insertion, per the same guidance, both for antiseptic effect and to reduce the stinging sensation reported in patient-education literature.
What gauge and length needle is described in the published technique literature?+
Frid et al. 2016 (Mayo Clinic Proceedings) and the FIT (Forum for Injection Technique) recommendations describe 4 mm pen needles as appropriate for most adults across the BMI range. The Ozempic, Wegovy, Mounjaro, and Zepbound prescribing information all reference manufacturer-supplied needles in the 32G x 4 mm or 31G x 5 mm range. Insulin-style syringes used for compounded peptide reconstitution are typically 31G x 8 mm with U-100 markings.
Does cold injection cause more pain?+
Patient-experience reporting in pen-administration trials (cited within the GLP-1 STEP and SURPASS programmes) describes refrigerated cartridges as more uncomfortable than room-temperature cartridges. Pen package inserts permit a manufacturer-specified window during which an in-use pen may be at ambient temperature; consult the specific product insert for the permitted duration.
What is lipohypertrophy and why does the literature recommend rotating sites?+
Lipohypertrophy is a localised thickening of the subcutaneous tissue caused by repeated injection at the same site. Frid et al. 2016 describe it as one of the most common avoidable causes of erratic absorption. The Forum for Injection Technique recommendations describe rotating across all three documented zones and within each zone via a documented site-log, specifically to prevent lipohypertrophy from developing.
Should the needle be primed before each injection?+
For pre-filled pens, the package inserts (Ozempic, Wegovy, Mounjaro, Zepbound) describe a flow-check or priming step before the first use of a new pen. Subsequent injections from the same pen do not require re-priming. For vial-and-syringe administration, an air-bubble flick step is described in standard nursing-education references such as Perry & Potter.
What if I see a small bruise or pink patch the next day?+
A small bruise or a 1 cm patch of pinkness that resolves within 24 hours is consistent with normal injection response and does not warrant prescriber contact, per Frid et al. 2016. Expanding redness or warmth beyond a 2 cm radius after 24 hours, fever, purulent discharge, or unexpected deep pain are flagged in CDC and IDSA guidance as warranting same-day prescriber contact.
Sources
- Frid AH et al., 2016. New Insulin Delivery Recommendations, Mayo Clinic Proceedings
- CDC. Injection Safety: Safe Injection Practices
- OSHA Bloodborne Pathogens Standard, 29 CFR 1910.1030
- Wilding JPH et al., 2021. Semaglutide STEP-1, NEJM (injection administration protocol)
- Jastreboff AM et al., 2022. Tirzepatide SURMOUNT-1, NEJM (injection administration protocol)
- Ozempic (semaglutide) Prescribing Information. Novo Nordisk
- Wegovy (semaglutide) Prescribing Information. Novo Nordisk
- Mounjaro (tirzepatide) Prescribing Information. Eli Lilly
- Zepbound (tirzepatide) Prescribing Information. Eli Lilly
- Stevens DL et al., 2014. IDSA Practice Guidelines for the Diagnosis and Management of Skin and Soft Tissue Infections
- Forum for Injection Technique (FIT). Recommendations for Best Practice in Injection Technique
- Perry AG, Potter PA. Clinical Nursing Skills & Techniques (Elsevier). Subcutaneous injection chapter.